Off-the-shelf curtains never quite fit. They're the wrong length, the wrong width, or the wrong colour. Linen by the metre solves all three. This DIY linen curtain guide keeps the focus on proportion, maintenance, and how the room feels in daily use.
In our room edits, the change works only when it solves a visible problem instead of adding another layer to manage. Use the same restraint behind cream linen curtain sizing and slow living bedroom layers: measure first, repeat materials deliberately, and leave enough blank space for the change to read.
How do you make a no-sew linen curtain in two hours?
A no-sew linen curtain is made by measuring the rod-to-floor drop, adding hem allowance, cutting heavyweight linen with the grain, bonding the side and bottom hems with iron-on tape, then clipping the raw top edge to curtain rings. The two details that make it look custom are rod height and panel length: mount the rod 10–15 cm below the ceiling or crown, and let the panel just kiss the floor. Choose 220–280 gsm linen so the fabric has body without blocking all the light. For a gathered pair, buy 1.5–2 times the rod width; for a flatter architectural panel, buy the rod width plus hem allowance. Work one panel at a time, press every fold before bonding, and hang the first panel before cutting the second so the pair can be corrected before the mistake repeats.
For this choice, this section matters most when it is checked from the doorway and from the seat or counter where the decision will be seen every day. Give the idea at least 24 hours in normal morning and evening light, then remove one nearby object before deciding whether the room needs anything else.
Materials
- Heavyweight linen (220–280 gsm), in natural undyed
- Curtain clip rings (pewter or unlacquered brass)
- Hem tape (iron-on) — or thread, if you want to sew it
- Sharp scissors and a tape measure
For this choice, this section matters most when it is checked from the doorway and from the seat or counter where the decision will be seen every day. Give the idea at least 24 hours in normal morning and evening light, then remove one nearby object before deciding whether the room needs anything else.
This final check is deliberately practical: look at the section from the doorway, then again from the place where you use the room most often. If the idea only works from one angle, simplify the surrounding objects before you add anything else.
Two-hour curtain plan
- Mount or mark the rod 10–15 cm below the ceiling or crown molding, extending 15–25 cm beyond the window frame on each side.
- Measure from the bottom of the clip ring to the floor, then add 4 cm for the side and bottom hems.
- Calculate fabric width: 1.5–2 times the rod width for gathered curtains, or rod width plus hem allowance for a flat panel.
- Cut the first panel with the grain, press a 2 cm fold on the long edges and bottom, and bond hem tape in 30 cm sections.
- Clip rings every 12 cm along the raw top edge, hang the first panel, confirm the drop, then use it as the template for the second.
For this choice, this section matters most when it is checked from the doorway and from the seat or counter where the decision will be seen every day. Give the idea at least 24 hours in normal morning and evening light, then remove one nearby object before deciding whether the room needs anything else.
This final check is deliberately practical: look at the section from the doorway, then again from the place where you use the room most often. If the idea only works from one angle, simplify the surrounding objects before you add anything else.
Measure for the drop
Curtain rod at the ceiling, not the window frame. Measure floor-to-rod and add 4cm for the hem. The curtain should kiss the floor — not pool, not float. A 1cm gap is fine; a 5cm gap is short.
For this choice, this section matters most when it is checked from the doorway and from the seat or counter where the decision will be seen every day. Give the idea at least 24 hours in normal morning and evening light, then remove one nearby object before deciding whether the room needs anything else.
Cut and hem
Cut the linen with the grain. Fold a 2cm hem on each long edge and the bottom; press; iron the hem tape in place. The top edge goes raw — the clip rings hide it. Total sewing: zero stitches.
The single best curtain decision is “rod at the ceiling, panel to the floor.” Everything else is a finish.
Clip and hang
Space clip rings every 12cm along the top edge. Hang. Step back. The room will look 30cm taller. The light will read warmer (linen filters cool light into warm). And you'll have spent under £80 instead of £300.
For this choice, this section matters most when it is checked from the doorway and from the seat or counter where the decision will be seen every day. Give the idea at least 24 hours in normal morning and evening light, then remove one nearby object before deciding whether the room needs anything else.
Optional: fullness
If you want gathered curtains, buy 1.5× the rod width. If you want flat (more architectural), buy 1× plus 4cm. The flat version is harder to do well in cheap fabric — but linen has enough body that it works.
This is the project that turns a room. Two hours, no machine, no professional. Just sharp scissors and the right rod height.
What fabric weight to buy
The number that matters is grams per square metre. Lightweight linen around 150 gsm looks beautiful in a product photo but goes limp on a real window; every crease shows and the panel can look like a sheet. Heavy upholstery linen above 300 gsm hangs beautifully but blocks too much light for most living rooms. The practical range is 220-280 gsm: enough body to fall in a clean line, enough translucency to keep the room soft.
If the window faces the street, layer privacy separately. A linen curtain should filter light, not do the job of a blackout blind. Pair it with a simple roller shade mounted inside the recess and let the linen do the visual work on the outside.
The width calculation
For a gathered look, multiply the rod width by 1.5. For a fuller, softer look, multiply by 2. We rarely go beyond that in small rooms because heavy folds eat wall space and make the window feel dressed rather than integrated. A 160 cm rod usually wants 240-320 cm of fabric total, split into two panels.
If you are using clip rings, remember that the clip itself adds drop. Measure from the bottom of the clip, not the top of the ring. That small adjustment is the difference between "custom" and "nearly right."
Renter-friendly rod placement
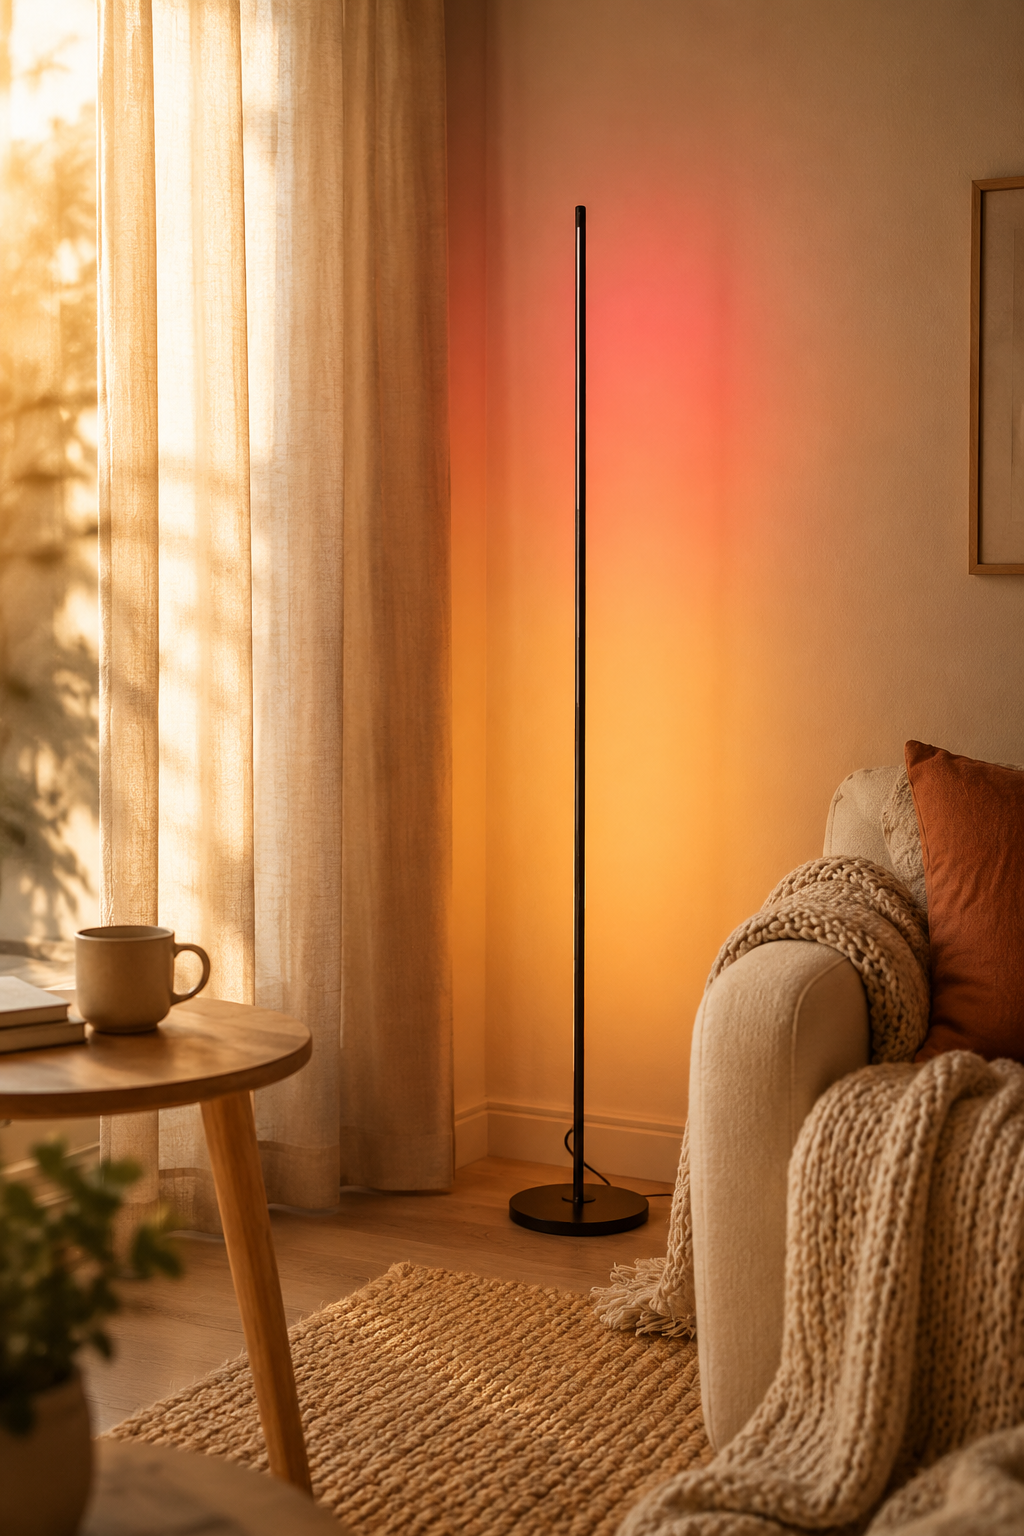
The best-looking rod position is 10-15 cm below the ceiling or crown molding, extending 15-25 cm beyond the window frame on each side. That lets the open curtain sit mostly on the wall, not over the glass, so the window looks wider and lets in more light.
If you cannot drill, use a tension rod inside the recess and keep the panel flat rather than gathered. It will not create the same height illusion, but it still softens light and hides hard frame lines. In that case, choose a lighter linen so the rod does not bow.
Common mistakes
Do not use iron-on hem tape on damp fabric. Press the linen first, let it cool, then apply the tape with steady pressure. Do not drag the iron along the fold or the tape shifts. Work in 30 cm sections and test the first corner before committing to the full panel.
Do not cut both panels at once unless the fabric is perfectly squared. Linen can skew slightly on the bolt. Cut the first panel, hang it, confirm the drop, then use it as the template for the second. The extra ten minutes prevents a pair of curtains where one side quietly annoys you forever.
How to style the room after
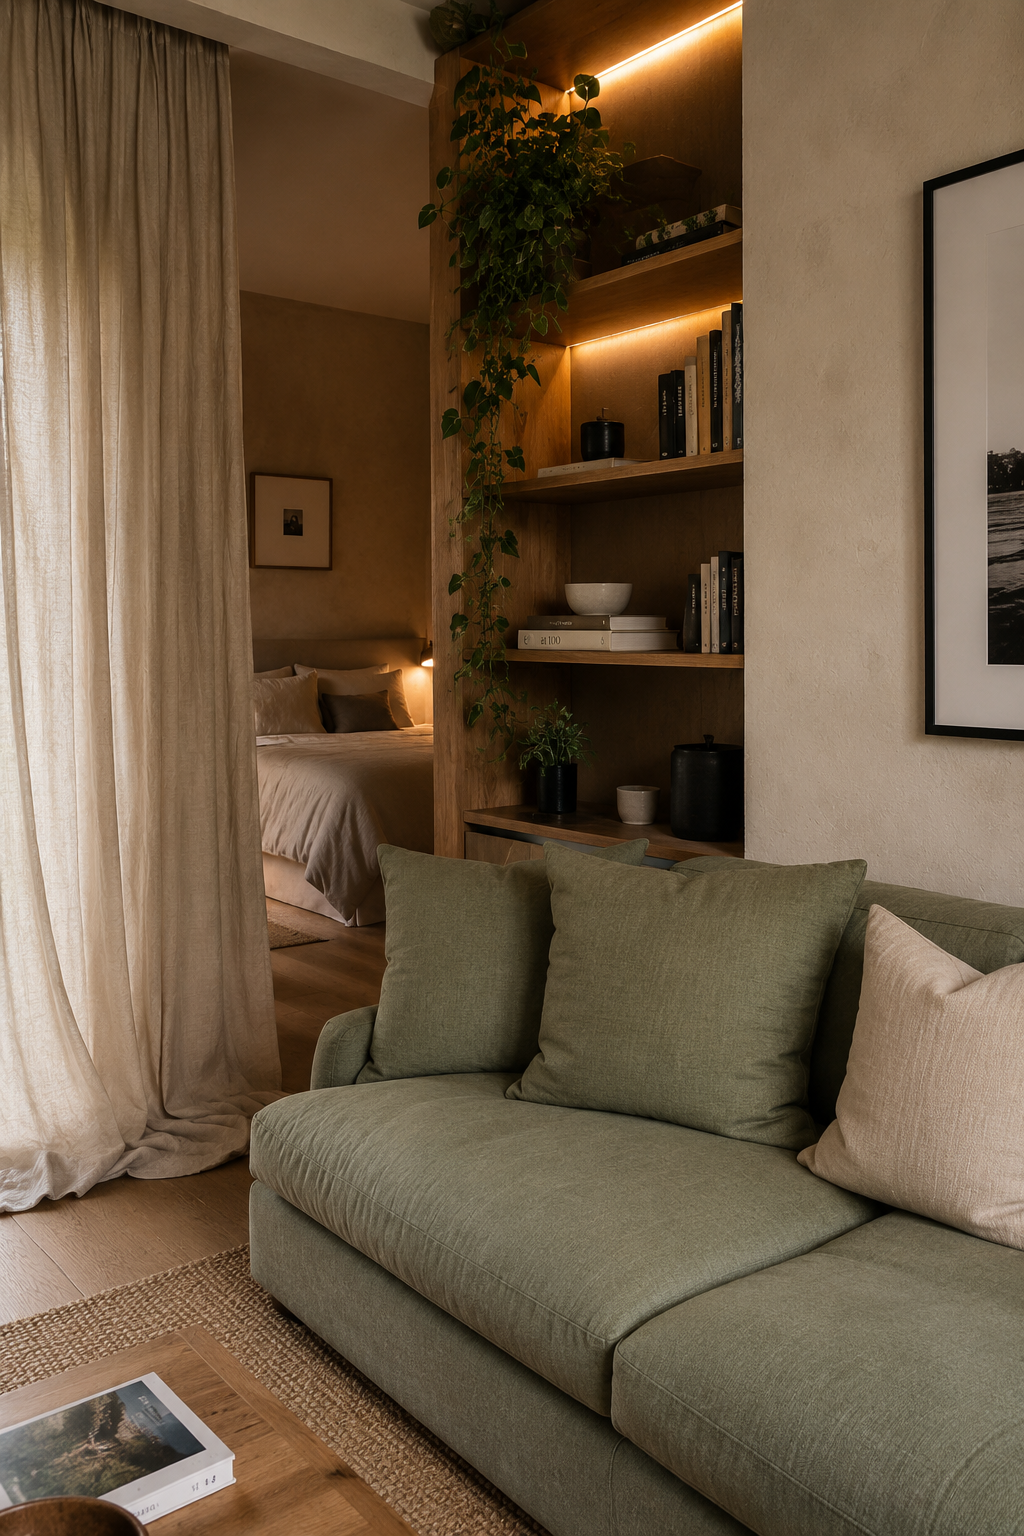
Once the curtain is up, remove one other soft texture. A new linen panel plus a throw, three cushions, a boucle chair, and a textured rug can make the room feel over-layered. Let the curtain become the main softness and keep the nearby pieces plainer. This is the same editing principle we use in five things you already own that make a room: make one move, then give it space to register.
For this choice, this section matters most when it is checked from the doorway and from the seat or counter where the decision will be seen every day. Give the idea at least 24 hours in normal morning and evening light, then remove one nearby object before deciding whether the room needs anything else.
How to Use DIY linen curtain at Home
Start with measurements rather than mood. Mark the likely footprint with painter's tape, books, or a folded towel before buying or rearranging anything. A useful rule is to leave at least 60 cm for a main walkway, 35-45 cm between a sofa and coffee table, and 10 cm of visible border around small textiles or objects that sit on the floor. Those numbers are not decorative; they decide whether the idea feels calm once people actually move through the room.
Check the material against what is already present. If the room has several glossy surfaces, add matte texture. If it has many pale fabrics, add one grounded wood, stone, black, or brass note. If it already has strong contrast, keep the new piece quieter. The goal is not to match every finish, but to repeat one material family so the choice feels connected to the room instead of dropped into it from a product photo.
Plan maintenance before styling. Anything near water, food, pets, children, or direct sun needs a cleaning rhythm and a tolerance for wear. Soft textiles may need weekly washing, stone may need coasters, acrylic may need microfiber cleaning, wood may need pads under objects, and lighting may need a dimmer that is compatible with the fixture. A beautiful choice that is annoying to maintain usually becomes visual clutter within a month.
Use the one-in, one-out test after the change lands. Add the new piece, then remove one smaller object in the same sightline. If the room feels more intentional, leave the smaller object out. If the room feels bare, return it after a week. This keeps the edit from turning into accumulation and protects the calm that made the change worth considering in the first place. Used this way, DIY linen curtain becomes part of the room's structure rather than a loose accent.
FAQ
How do I use this idea without making the room feel busy?
Use the change as one clear decision, then remove or quiet the nearest competing object. The room should gain a job, a material note, or a focal point rather than another small thing to maintain.
What should I measure before choosing it?
Measure the available width, depth, height, and the walkway that remains after the piece or idea is in place. For most rooms, 60 cm of clear passage and visible breathing room around the object prevents a styled choice from becoming an obstacle.
Can this work in a rental or small home?
Yes, if the choice is reversible and scaled to the room rather than the product photo. Freestanding pieces, textiles, plug-in lighting, removable hooks, and careful styling usually give the best result without changing the building.
What is the most common mistake with this idea?
The common mistake is treating the idea as decoration before checking proportion and maintenance. If the size is wrong or the material is hard to live with, even an attractive choice will make the room feel less settled over time.